How To Make Coffee In A Large Percolator
There are times that you may want to make coffee for a large number of people. Maybe you’re planning an event or large meeting at work. Whatever the reason, you may want to consider using a percolator for making coffee. You will want to use a large percolator. These devices are used for various purposes when using coffee. They can make up to 10 cups of coffee in one serving.
Making coffee in a percolator is a surprisingly complicated subject. That’s partly because it’s a relatively old method, and partly because there are several different ways to go about it. The (very short!) history of the percolator shows that the method has had significant evolutions throughout history. This article will explain the basics of how to make percolated coffee, so you can get started making your own!
A large percolated coffee pot tends to pay for itself in a relatively short period of time. In this post, I will explain how you can brew large quantities of great-tasting coffee using an ordinary percolator and some tips on how to get the most out of one of these items.
What are percolators
Table of Contents
A coffee percolator is equipment that is used to brew coffee. Percolator coffee has a particular flavour that some people regard to be an acquired taste; it also requires expertise to learn how to use a percolator properly, as it is easy to spoil coffee when using one.
How do you make coffee using a percolator?
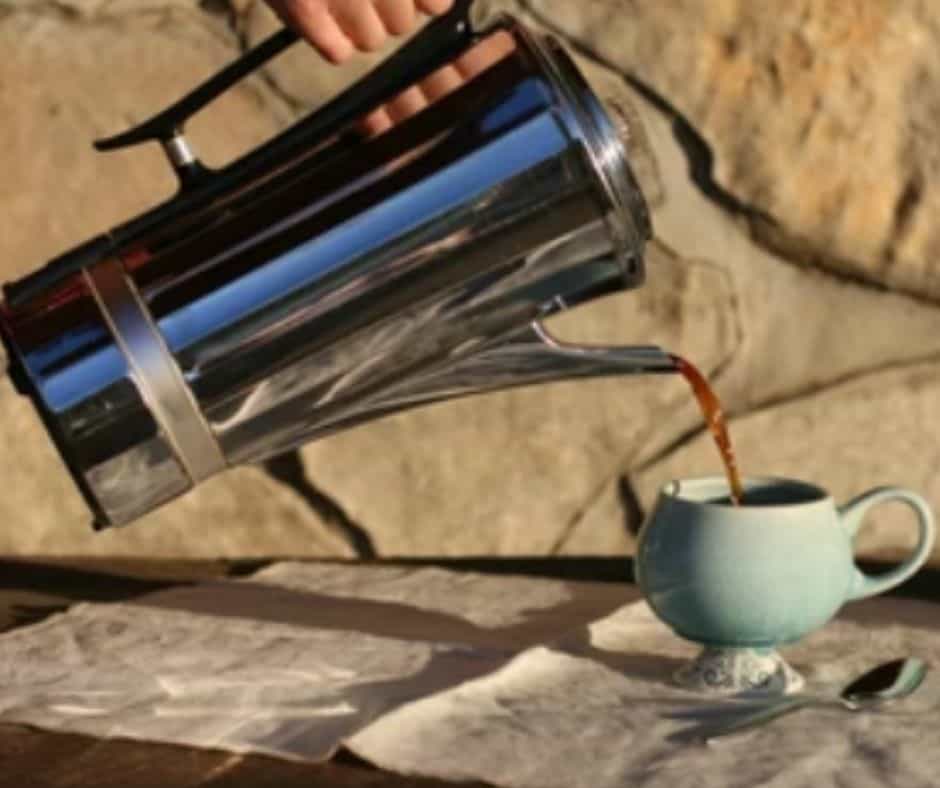
Percolators were very popular in the United States from the mid-1900s until the early ’60s. Even today they are still considered to be useful despite the invention of drip coffee makers. These are the steps to using a percolator to make coffee.
- Fill the bottom chamber with water and open the percolator. Each meal should contain roughly 6 to 8 ounces of water. Once everything is put together, make sure the water level is below the upper basket.
- Fill your percolator with the tube and chamber assembly.
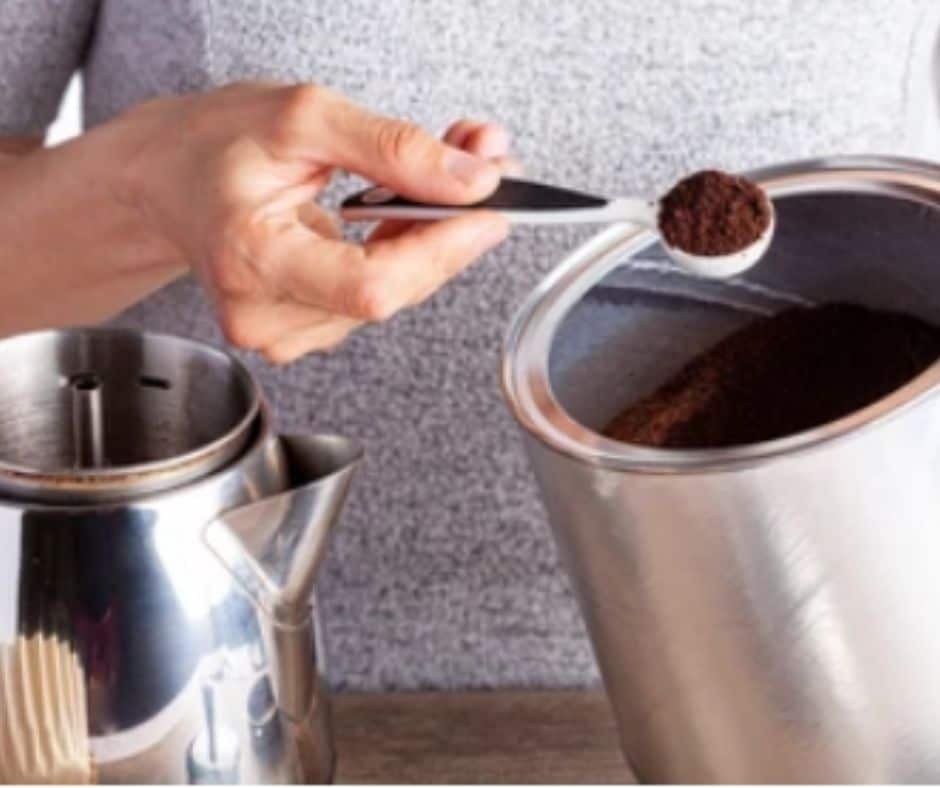
- Fill the basket with your coffee grounds. To keep the grounds from passing through the perforations in the bottom of the basket, use a very coarse grind, even coarser than you would in a French press. Each dish should have roughly 1 spoonful of coffee. As you gain experience, you may always change the amount to fit your preferences.
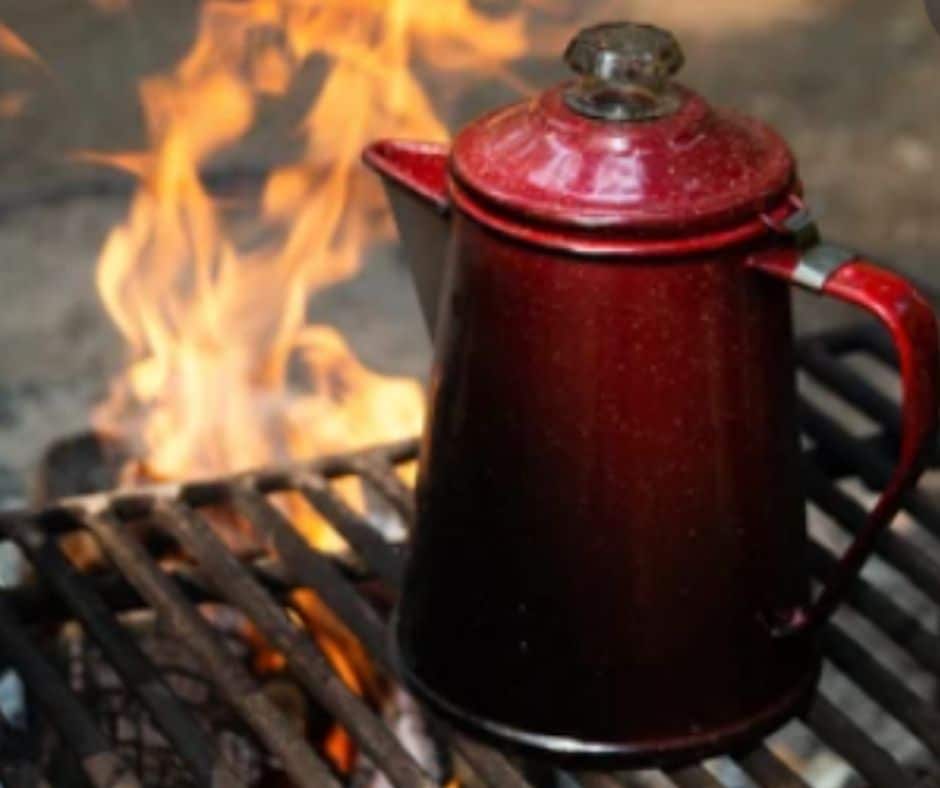
- Position the percolator near a source of heat or, if it’s electric, plug it in.
- Allow 3 minutes for the coffee to percolate, or until the “perking” movement has stopped. To keep the coffee from becoming overly strong, reduce the heat at this point.
How does a large coffee percolator work?
A variety of components make up the percolator. To begin, it has a heat source at the bottom, which can be either an external source such as an element of fire, or an interior source such as an electrical outlet.
In addition to the water tube and grate, the pot that is placed on the heat source has two or more chambers. During the brewing process, the percolator performs a simple yet effective function.
The water and coffee grounds must be added first. The water is poured into the lower chamber, while the coffee grounds are fed into the upper chamber. It’s time to turn on the heat.
The boiled water rises via the water tube into the upper chamber, where the coffee grounds are stored, as it boils. As the heating process continues, more rising water accumulates on top, increasing the pressure.
The water is forced upwards when it seeps through the coffee grounds when the pressure is strong. It becomes infused with the grounds as it trickles through. This procedure takes a few minutes, but it is required in order for the infusion to complete.
The cooling brew then returns to the water chamber, where the process began, and is repeated until the desired brewing strength is obtained.
Coffee Percolator Pros and Cons
Coffee enthusiasts have been arguing for years about which is better: filters or percolators. Most people have a strong preference for one or the other but fail to realize that both have their own unique advantages as well as disadvantages.
Pros
Percolator coffee has a lot of advantages, which include the following:
- Percolators are quite simple to maintain.
A percolator, whether electric or stovetop, has no moving parts and may be readily dismantled. As a result, they’re simple to clean. Cleaning solutions or white vinegar are not circulated through the system, and the system is not rinsed. Cleaning the percolator as a whole is child’s play.
- Percolators provide you with piping hot coffee.
You may have a real hot coffee because your coffee is brewed at a high temperature. Plus, with the electric ones, you can program your percolator to keep your coffee hot.
- The deep, rich flavour comes from percolators.
The deep, rich, powerful coffee flavour achieved by percolators is not achieved by other brewing processes, which is one of the benefits that coffee aficionados point to and why percolators continue to be popular. This is due to the use of a hot brew temperature and a continuous brew cycle in this brew method.
You risk dishing up a better over-brewed and over-extracted coffee if you don’t keep a watch on your percolator.
- Coffee made in a percolator is universal.
Coffee made with a percolator is both practical and universal. It’s easy to pack in your luggage and travel with, just like a French press or a Moka pot. You can even use the more traditional one when camping to obtain incredibly fresh, strong coffee.
Cons
- They’re a little sloppy.
This is only an issue or problem with a stovetop percolator. If you don’t remove your stovetop percolator from the heat, it will continue to brew and boil the water while the coffee spills out and on, literally all over your stove.
This isn’t an issue with an electric version; just don’t overfill the water chamber!
- They necessitate time and technique.
Taking upon the previous point, percolators take a little time, patience, and experience to perfect the brewing procedure and get your coffee precisely how you like it. Once you’ve mastered it, you’ll be able to make consistently strong, deep, flavorful coffee with it.
- Over-extraction is a big concern.
With older stovetop percolators, over-extraction and the resulting bitter coffee is more of a problem. When using an electric percolator for the first few times, you may over brew.
When using your stovetop percolator, you must keep a close check on it at all times. You should only use your electric percolator once you are familiar with it and its settings.
Real Life Percolator Tricks
Once it relates to utilizing your percolator, you get to be sure you’re doing it correctly, which necessitates following a few simple guidelines.
- Check to see if everything is in good working order. Wipe down the percolator and all of its components with mild dish soap. Because you don’t want leftover coffee or grounds from the last time you prepared coffee to contaminate your freshly brewed coffee, this includes the basket and stem as well.
- Before putting the beans into the percolator, make sure they’ve been coarsely ground. Whereas a fine grind would be ideal for a regular coffee maker, a fine grind for a percolator will allow more of the grind to pass through.
- After about 5 minutes, check the coffee in an electric percolator. That’s when you should have the ideal extraction level. If you’re going to put it over a fire or on a stove, give it a few minutes more to make sure it’s hot.
- When you’re done brewing, unplug the percolator. Allowing the coffee to sit in the percolator while the machine is operating is not a good idea. If you’re not careful, you risk scorching your coffee or overheating the percolator.
What Kind of Coffee Should You Use?
Before brewing with a percolator, make sure you have the proper brand of coffee because that’s how you’ll get the ideal flavour.
typically, a medium roast will provide a fair balance of flavour without being overly weak or robust, especially given how much water circulates through the grounds.
Make sure the coffee is coarsely grounded or made for a percolator. That way, the coffee won’t have any grounds in it. You’ll notice grinds getting into the coffee if you grind it too fine.
Characteristics of a Coffee Made in a Percolator
There are numerous advantages to using a percolator to prepare coffee. That’s because coffee made in a percolator tastes nothing like coffee made in a regular coffee machine.
- Heated Coffee: If you really want your coffee to be exceptionally hot, a percolator will provide you with all of the heat you require. Since it’s creating steam and the water is boiling, you’ll get coffee that’s hotter than you’ve ever tasted.
- Improved Taste: When you use a percolator to make your coffee, the flavor will be much stronger. You’ll get a bit extra flavour and aroma, but if you like strong flavors, you’ll enjoy it this way.
- Dissolution: If the grounds are too fine, they can pass past the filter and into the percolator’s base, resulting in coffee grounds in your cup of coffee. You’ll need to be very careful when loading it, as well as with the type of grounds you use.
- Cloudy Sigh: But on the other hand, the coffee itself may appear cloudy rather than the way it does when it comes out of a coffee machine. This is due to the way the grounds are spread throughout the coffee and how it is cooked continuously.
How do you make large amounts of coffee?
Brewing (and keeping) a large batch of coffee is not the same as making a cup of coffee to order.
People will return if you can make a truly memorable cup of coffee, according to recent studies.
- Select the appropriate brewer and dispenser.
Look for a dispenser that keeps brewed coffee warm without heating it, or go with a system that has intelligent dispenser heating. Coffee that has been brewed in a high-quality stainless steel vacuum dispenser can last for up to two hours. Brew as much as you require. Waste equals money.
- Make certain to clean and filter.
When brewing coffee, always use filtered water. Over 98 per cent of a good cup of coffee is water. The coffee will be off-flavoured if the water is. Unfiltered water can also accumulate elements on the brewer’s parts, causing mechanical problems. Filters should be changed according to the manufacturer’s instructions, and your brewer should be cleaned properly.
- Use a sufficient amount of coffee
The rule of thumb for a dark roast is a 22-to-1 water-to-coffee ratio. Less coffee is required for a lighter roast. The ideal flavour is usually achieved by using an 18-to-1 water-to-coffee ratio. “Darker-roasted coffee is more water-soluble,” explains Bastin. “It’s for this reason why the ratio is larger.”
- Consider the age of the coffee.
Brewing with extremely dark roast can be risky. Give at least two days for it to rest before using it to make a pot of tea. Beans should always be stored airtight and freshly ground before serving.
- Make the ideal grind.
What is the best technique to determine the size of your grind? Calculate the time it takes to fill the pot. From the time the water starts flowing through the filter until the final drop, a standard gallon batch of coffee should take about five minutes. “If you’re beyond that window,” she explains, “the coffee needs to be harsher.” “It needs to be finer if it’s too fast.”
How much coffee do you put in a large percolator?
If you are using or considering purchasing a large percolator, it is important to know how much coffee you should be using for a full cycle. A large percolator can process dozens of cups of coffee at once and can be a real time-saver for the busy bee on the go.
For the best coffee, preheat the coffee percolator with cold water. Next, add the recommended amount of coarsely ground coffee to the filter basket and then fill it with cold water until 1/4 of its height is filled. Then, switch on the machine and wait for the coffee to perk. After a few minutes, turn down the heat to medium and leave it for 5 more minutes before turning it off completely. Serve hot with milk and sugar to taste.
How do you make coffee in a 30-cup Percolator?
A 30 cup percolator is used to make 2 to 4 cups of coffee at a go. The process involved in using this kind of machine has been followed by the usage of the manual coffee pot, which requires a certain amount of time before it can start making coffee again. A 30 cup percolator is a coffee pot that can brew for 15 to 20 people at one go. When serving a 30 cup brew size using an electric percolator. It should take around 12 minutes to prepare the serving, and 2 cups of ground coffee for dark coffee and simply a cup for light coffee should be enough.
How to Clean and Maintain Your Percolator
It’s essential to keep your percolator clean and ready to use, so make sure you’re doing everything you can to wipe it down and wash it after each use.
These include washing out any leftover grounds or coffee as soon as you’re finished. You’ll also want to soak and clean the percolator with water and dish soap.
Keep in mind you rinse away all of the soap so it doesn’t adhere to the edges of the percolator, affecting the flavour of your coffee and maybe causing stomach issues. You should also clean out any stains that may have formed as a result of leaving coffee out too prolonged.
Reminder: before washing a large percolator, always let it cool completely, and then remove the lid and rinse it in hot water. This will allow you to keep the rubber seal intact for as long as possible. After this part has been done, you can wash both yourself and your percolator with warm soapy water. many individuals can go wrong when washing their percolators.
Conclusion
The percolator is an easy-to-use coffee maker that brews a large volume of coffee at once. Using the percolator can save time because it’s quicker to brew than a drip coffee maker. The process combines boiling water with a spinning element to extract the coffee flavour. Percolators also allow you to use any type of ground coffee, including decaffeinated.
When it comes to making coffee in a percolator, you’ll reap a slew of advantages. It’s not only about being able to make a lot of coffee. It’s also about being able to make a pot of hot, robust coffee that achieves all of your objectives. There’s no reason to accept anything less than your ideal situation.