

How to program a black and decker coffee maker
We have a guide for you if you possess a Black and Decker coffee maker and you are wondering how to program a Black and Decker coffee maker.
An automated coffee maker comes with a slew of advantages, the most important of which is preparing a good cup of coffee quickly. When it comes to coffee makers, most people feel that Black and Decker is the greatest brand.
If you already have one but are unclear about properly using it, this article will show you how to program a Black and Decker coffee maker with step-by-step instructions.
How to Program BLACK+DECKER Coffee Maker
Table of Contents

Disinfect the sections that can be removed. After that, replace it. Start brewing by pouring the water to its maximum height. This allows the removal of dust and dirt created during the manufacturing process. The water and paper filter should be discarded. Finally, let it cool before resuming the brewing process.
This coffee maker’s ability to brew coffee at a predetermined time is one of its most striking features. Let’s imagine you want a cup of coffee when you get up; you can schedule the brewing of the coffee. Then there’s no need to wait; your coffee will be ready before you even get out of bed. It will stay heated for roughly 2 hours even if you get out of bed late.
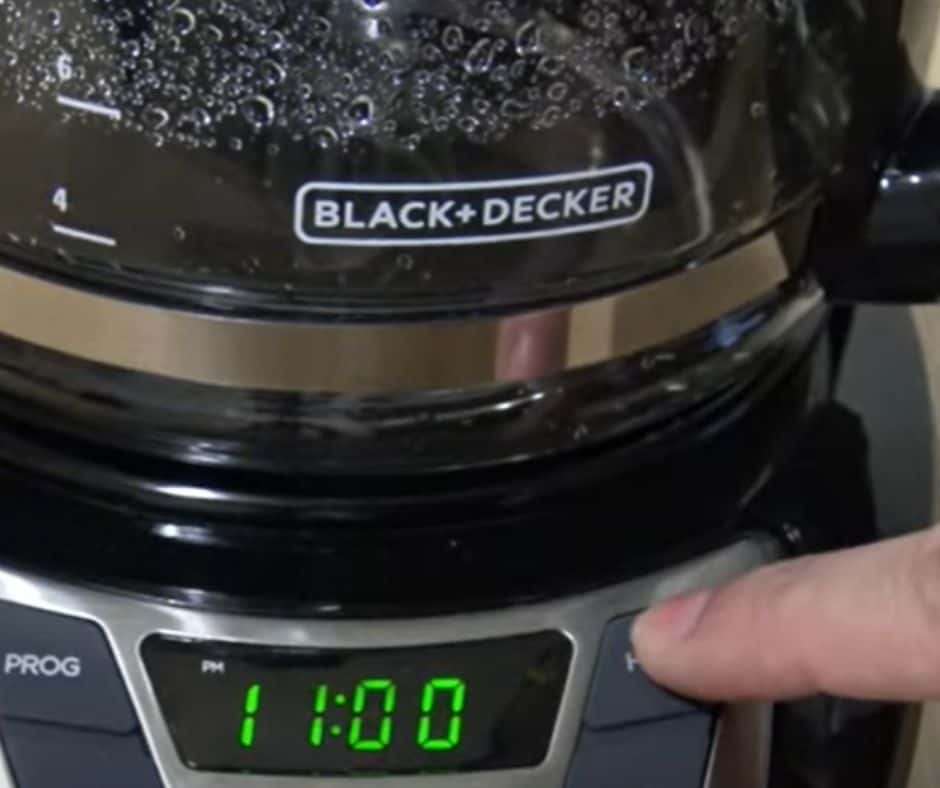
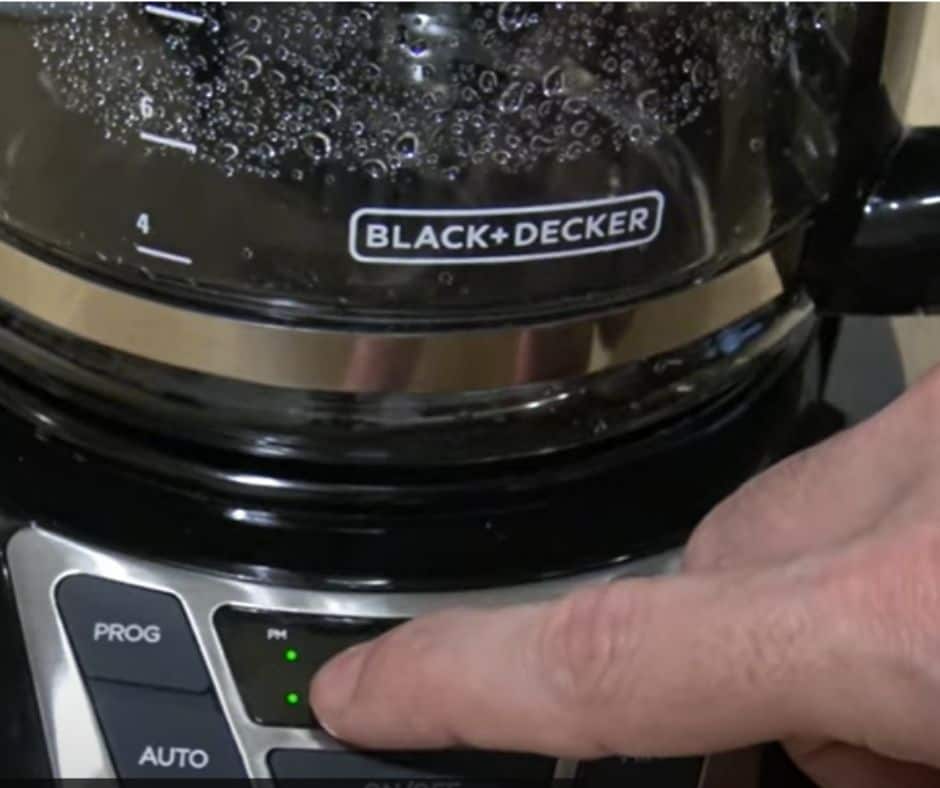
To configure the coffee maker to start brewing at a specific time of day, press the PROG button and set the time accordingly to start brewing and set the specific time of day. Following the clock’s setting, the display flashes multiple times before returning to the established time. To start the program, press the AUTO button.
- Make sure you’re ready before you touch any buttons.
First and foremost, a thorough cleaning is required. Remove the removable elements, such as the filter basket and the mug containing brewed coffee, and wash them before replacing them in the machine.
Fill the coffee maker halfway with water and push the brew button. While heating up, this can thoroughly remove any lingering dirt and kill all bacteria. Remove the water after a few minutes, allow the machine to cool, and then be ready to load it with coffee.
- The Clock is Set
The ’12:00 A.M.’ will appear on the display once you’ve connected the coffee maker. Press the hour button to reset the time. The coffee maker has a delayed brewing mode that turns it on at a specific time. Even if you don’t use this feature, setting the correct time is still a good idea.
- Choosing an Auto-Brew Time
This coffee maker may be programmed to brew at a specific time each day. When you press PROG, you’ll be able to set the time for the brewing to begin. The same may be said for the buttons you used to set the clock. The screen will flash multiple times when it’s finished before returning to the current time. To start the program, press AUTO.
- Getting the Coffee Ready
Remove the one-piece cover and open it. Then add water to the reservoir. Its maximum capacity must not be exceeded. Otherwise, there will be a huge mess to clean up since the coffee maker will leak from the back. To add the correct amount of water, use lines.
Place the paper filter in the filter basket. Make certain you’re using the right filter. Some models of this coffee maker, however, do not require it. Close the lid tightly after adding the ground coffee. To start brewing, press the button. Remove the coffee grounds and filter after it has cooled.
- Keeping the Coffee Maker Clean
The coffee maker must be unplugged and allowed to cool before cleaning. Coffee grounds and paper filters should be discarded. Use soapy water to clean the filter and carafe, but avoid harsh cleaners. Wipe the outside of the coffee maker with a soft, wet cloth.
Three Different Black & Decker Coffee Makers
Depending on their needs, customers can pick from three distinct Black and Decker coffee makers models.
- Single-cup
This product line has a 15-16 oz capacity and does not allow digital programming. It can only make one cup of coffee at a time, but it has the advantage of being simple to use.
Fill the machine with coffee grounds or pre-packaged soft capsules, then turn it on. After a few minutes, you’ll have your coffee mug ready.
- 5-cup
There is no digital programming for you with this type. However, each time it is used, it may brew up to 5 cups of coffee. This 5-cup model, in particular, has a permanent ground filter, which eliminates the need for a paper filter when processing your favorite coffee grounds and makes cleaning much easier.
- 12-cup
This is Black and Decker’s premium product line, which includes various features to improve your coffee in as many creative ways as you can conceive, such as a brew strength selector and a showerhead with vortex technology. The most useful feature is to program the coffee maker according to your preferences.
How to Use Delay Feature
This feature is so useful that if your machine is turned off but plugged in, it will automatically turn on and prepare a cup of coffee for you at the specified time.
Not only that, but it will keep it warm for around 2 hours. See how intelligent our computer has become in recent years.
In black and Decker, what is the coffee to water ratio?
The coffee-to-water ratio is a personal preference. 1 teaspoon of ground coffee to 1 cup of water, or 1:1, is the standard ratio.
On the other hand, the ratio can be altered to fit one’s preferences. If someone prefers a light or bitter flavor, they can vary the amount of coffee used to suit their preferences.
How do you remove buildup from a coffee maker?
Mineral deposits should be removed from showerheads and sink faucets.
In a plastic bag, combine equal parts of water and vinegar.
Connect the bag to the faucet and submerge the faucet in the bag.
With a rubber band, secure the bag to the faucet’s top.
Allow for an hour of resting time.
Remove the bag and rinse it for a minute under running water.
If necessary, use an old toothbrush to remove stubborn mineral residue from the outside of the faucet.
Mineral deposits on a clothes iron should be removed.
Fill the iron halfway with water and halfway with vinegar, then turn it on.
Run the steam until the iron is empty after it has heated up.
After cooling, fill it with clean water and steam it to rinse it.
Vinegar for Cleaning
To avoid scale buildup, you should clean the coffee maker once a month with vinegar. Fill the storage tank with white vinegar until it reaches the 6th mark, then add water until it reaches the 10th mark. As before, add the filter paper. Continue to brew until the level reaches 5. Turn it off after 15 minutes and leave it alone. Begin brewing the leftover mixture once more. Remove the paper filter and turn it off.
Replace the carafe, then fill the reservoir with cold water until it reaches the 11th mark. Begin brewing. You can keep doing this until the vinegar smell is gone. Wash the carafe and filter the basket after that.
How to Clean a Coffee Pot of Calcium Deposits
Your coffee pots will last longer, and your coffee will taste better if you clean them periodically and remove calcium deposits. Follow these simple methods to clean your coffee pot once a month. Follow these simple methods to clean your coffee pot once a month.
1st step
Remove any remaining coffee from the coffee maker. Remove the filter from the filter basket, as well as any grounds. Using hot water, clean the carafe. Replace all of the coffee pot’s parts, but don’t put a new filter in the basket.
2nd step
Fill the coffee pot’s water chamber with a one-to-one solution of water and vinegar. The size of your pot determines the amount you’ll need.
3rd step
Start the coffee maker and let it run until roughly half of the water has been absorbed into the pot. Allow the machine to cool down for 15 minutes after turning it off or unplugging it.
4th step
Carry on with the rest of the cycle in the coffee maker. Restart the pot and wait for the cycle to complete. Wash out the carafe once the vinegar solution has flowed through the pot entirely.
5th step
Clean the coffee maker. Fill the coffee maker with fresh water and let it run for a complete cycle.
6th step
After that cycle, let the coffee pot rest for 10 minutes before running more freshwater through it. Discard the water and wash the carafe before using it again.
How Do I Set Up A Black and Decker Coffee Maker in the morning?
It’s easy to set up the Black & Decker coffee maker for the morning. To set the time, simply follow these steps:
1. Start by pressing the Prog button. You’ll be put into programming mode.
2. Next, press and hold the HR button until the required time is reached, then release it.
3. To alter the minute, press and hold the MIN button.
4. When the light flashes, push and hold the AUTO button.
Release the light after it has flashed and relax. In the morning, your coffee will be ready to drink.
What’s wrong with my Black and Decker coffee maker?
Please consider the following reasons:
The electricity isn’t coming on: Ascertain that the machine is properly plugged into a working outlet.
The water level may have grown past the maximum line, causing leaking.
The carafe cover is not tightly fastened, which is a problem.
If your coffee isn’t brewing, double-check that you have enough beans and the right amount of water.
Check if the filter is loaded with the proper kind of coffee before releasing the clearwater.
Brewing is long overdue, and the machine may require more frequent cleaning.
Handling is too hot: Have the plate inspected by a professional if you suspect it is already cracked.
Finally, only get a Black and Decker coffee maker from reputable retailers.
Process of Brewing Coffee in BLACK+DECKER Coffee Maker
Fill the water reservoir to the appropriate level. The 12 lines on the reservoir’s side represent a full carafe of coffee. Fill to the 12 Cup line only.
Note: Use filtered or spring water. Distilled water lacks the minerals needed to bind to the components of coffee.
Note that filtered water removes contaminants and excess minerals that might affect the coffee quality and machine function.
In the brew basket, place a basket-style paper filter.
The amount of ground coffee to be used is up to you. Make sure the lid clicks shut.
Check that the carafe cover is securely fastened to the empty carafe. Close the lid of the carafe.
Note: The coffee may overflow if the carafe cover is not correctly put.
Place the carafe plate on top of the empty carafe.
Plug the power cord into an outlet if it is not already connected.
Your coffeemaker is set to brew coffee if you want a standard brew strength.
If you want a strong coffee, hit the STRONG button once to choose the strong brew. The LED light next to STRONG in the display will turn on. Press the STRONG button again to exit STRONG mode, and the LED light will turn off.
When making 4 cups or fewer coffee, we recommend selecting the STRONG option to ensure the greatest flavor.
The brewing process begins when you press the ON/OFF () button. While brewing, the () button flashes.
Carefully open the top when the coffee grounds have cooled, and discard the used grinds. Cover with a blanket.
The coffee maker will automatically turn off after two hours of keeping the coffee heated.
Press the ON/OFF button to turn off the coffeemaker at any moment ( ). The ON/OFF () light disappears.
Process of Grinding and Brewing
To make coffee, you’ll need to start with some water. Fill the reservoir halfway with cold water, up to the line indicating how many cups you wish to brew. If you fill the reservoir beyond the line showing its maximum capacity, you will end up with a massive mess.
After that, you’ll need to apply a filter. Place a filter at the top of the machine’s filter basket. Use the appropriate filter for your equipment. Examine your owner’s manual if you’re unsure which one to use. A filter is not required for some Black & Decker machines, particularly those that grind coffee.
After you’ve installed the filter, it’s time to add your favorite coffee. Fill the filter halfway with coffee.
If your coffee machine has a grind function, measure out 1 to 2 teaspoons of beans per cup the same way you would ground coffee. Depending on how many cups you’re brewing, adjust the grind setting. Press the ON/OFF button once after filling the reservoir with water. The machine will grind the beans and immediately make the coffee. If you’re brewing previously ground coffee, make sure this is turned off.
Cleaning Black+Decker Coffee Maker
After each use, clean the coffee maker by discarding the grounds and filter and hand-washing the filter basket and carafe or putting them in the dishwasher.
Treat the coffee maker with vinegar once a month to avoid scale formation from hard water. Half-fill the tank with white vinegar, then top it off with water. Place a clean filter in the filter basket.
Allow the carafe to fill halfway before pressing the ON/OFF button to switch off the coffee maker. Give the coffee maker and carafe to soak for 15 minutes before turning it on to finish the cycle. Remove the vinegar solution and filter, then fill the reservoir with fresh water and put the machine through a brewing cycle to remove the vinegar.
Conclusion
The 12-cup coffee makers from Black and Decker come with various programming choices to enable you to schedule brews and wake up to fresh, tasty coffee.
The settings are basic, but the UI can be difficult if you’re not used to using it. As a result, you’ve seen how simple it is to program a coffee maker.