Can you put milk in a Moka pot?
A Moka pot, a jar with a tight-fitting cover, your preferred La Vela Coffee espresso roast (fine) grind, and your choice of milk is all you need.
The Moka pot is an Italian utensil created in the 1930s for Antonio Bialetti. Although several decades have passed, the device’s structure has not altered, and making coffee in a Moka pot remains popular in many, not just Italian, homes.
How Can You Make Cappuccino with A Moka pot?
Table of Contents
You’re probably wondering what products and toppings you’ll need to make the recipe.
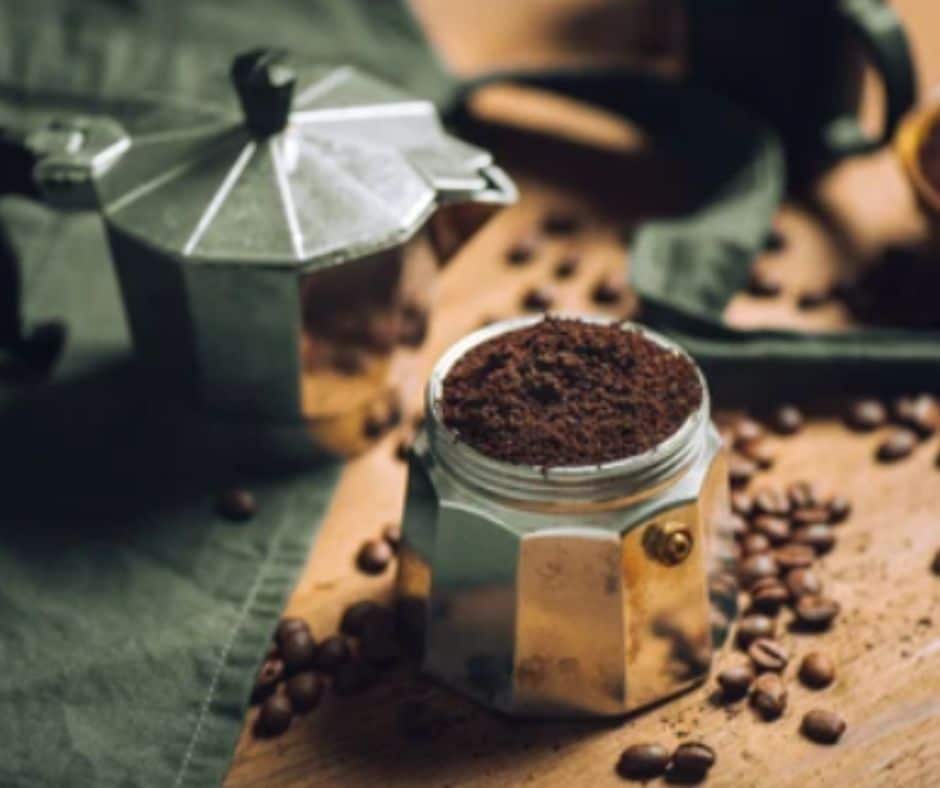
Preparing a handmade cappuccino in a Moka pot is rather simple, and no special equipment is required. As said before, you only need espresso-grade coffee beans, a Moka pot, and milk.
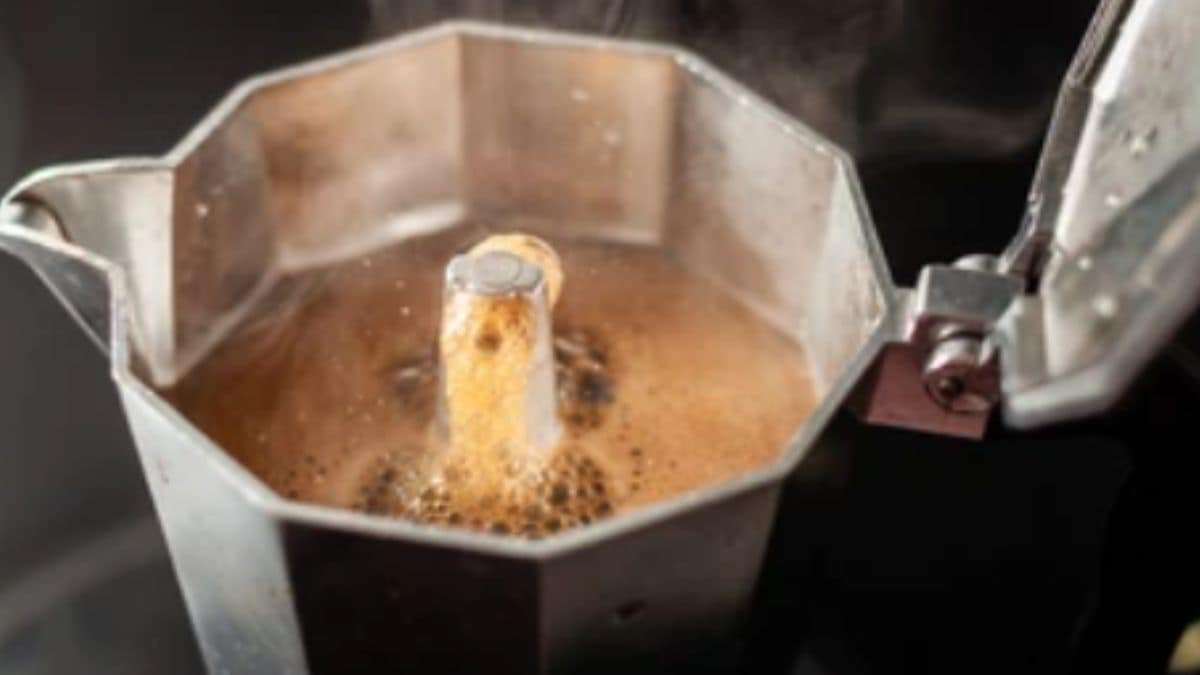
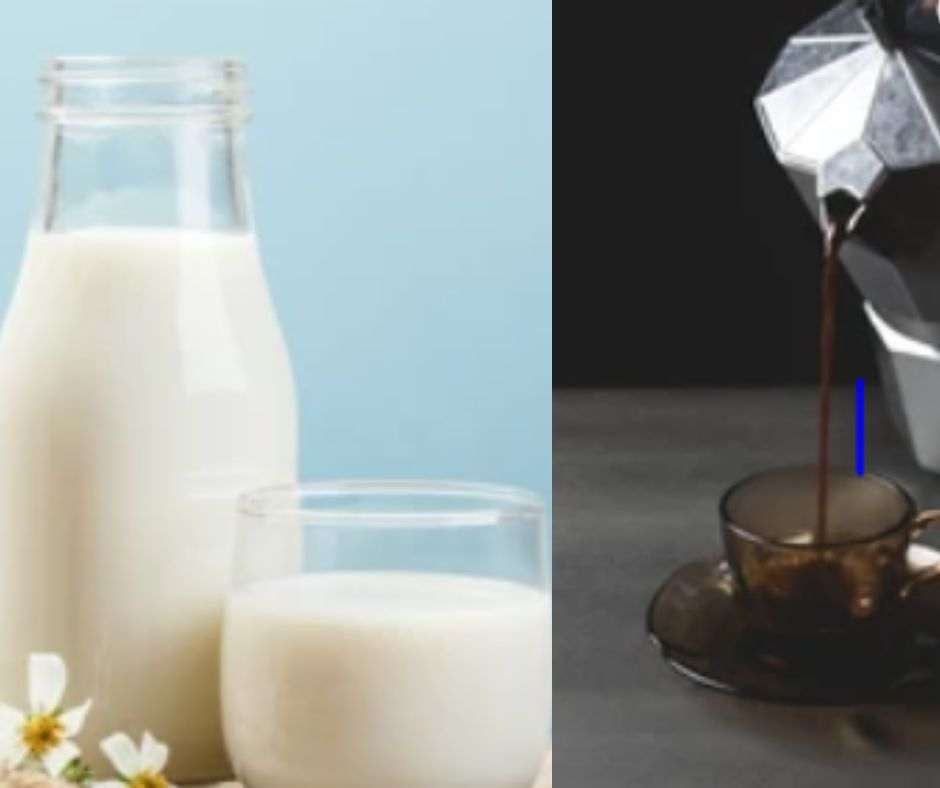
Simply pour some water into the bottom part of the Moka pot, and add your coffee beans to the filter holder. Lock on the top chamber to make a cappuccino, set the Moka pot on the burner, increase the heat, and wait for the water to boil. When the water reaches boiling temperature, it will flow from the coffee grounds and into the top chamber, producing a strong shot of espresso.
Isn’t it simple? All that remains is to froth some milk and serve it over your espresso. To make life simpler, you can use a handheld frother or just steam the milk on the stovetop.
Result of putting milk in Moka pot
Even though it can seem like a good idea to use milk instead of water in your Moka pot, doing so could lead to terrible coffee. Similar to an espresso machine, a Moka pot makes coffee by applying pressure to steam. Cappuccinos are made with steamed milk and espresso.
So it makes sense that substituting water for milk would save a significant amount of time.
Unfortunately, this is not the case in practice. For example, it won’t make good coffee if you put milk in a Moka pot instead of water. The milk might overcook, and the milk’s sugar may burn, leaving deposits that are difficult to remove. This is owing to the residue’s potential to obstruct the filter and pressure valve’s openings, which is problematic when the pressure builds up.
Heat the water to a boil before beginning to brew coffee in a Moka pot. When the water reaches its boiling point beyond, steam is produced. The pressure within the boiler rises because steam takes up more space than water.
Since the steam passes through the coffee grounds and into the collector, the pressure is reduced.
Although lactose, which is essentially a sugar, is present in milk, it also contains lipids, proteins, and water. Therefore, it will indeed boil and produce steam-like water. The other components of the milk that aren’t water are the issue. All over will be covered in a rock-hard muck from the sugar. Milk will curdle and leave behind a residue. It will be challenging to clean this. Additionally, you burn a lot of chemicals in the milk, which will give your coffee a poor taste.
It can clog the pores in the filtration and the pressure valve, in addition to creating a difficult-to-clean residue. This might even be harmful. This implies that the pressure is immovable. And if you add extra pressure, eventually, it will be too much for the pot to bear, and terrible things happen.
The safe way
By maintaining a temperature just below boiling point, the majority of the undesirable side effects may be avoided. In a Moka pot, though, you actually don’t obtain enough steam below boiling to brew a good cup of coffee. In a sealed space, temperature regulation is also quite challenging.
Furthermore, many substances in the milk won’t move with the steam. So, in the end, you primarily get water and not milk. The frothy milk wouldn’t fit in the container and would overflow, creating an even greater mess than you already had if cappuccino somehow appeared in the moka pot.
How to make milk and foam
Without an appropriate machine, it can be more difficult to duplicate the milk and foam in a real cappuccino. However, there weren’t always commercial coffee makers with milk steamers accessible. So you might imagine that they didn’t have quite the same technological tools as it does today when cappuccinos first gained popularity in the 18th century.
The cappuccino milk and foam had to be made by hand. That means it is possible to generate foam without a sophisticated machine, which is good news for those without a milk steamer.
What additional choices are there, then? I advise using a French press, electric hand blender, or wire whisk.
A wire whisk is something that almost everyone has in their kitchen. Just warm the milk up—don’t let it boil—and start experimenting. Getting your foam will require some work, but it is possible. However, it won’t exactly be a soothing experience.
A wire whisk is something that almost everyone has in their kitchen. Just warm the milk up—don’t let it boil—and start experimenting. Getting your foam will require some work, but it is possible. However, it won’t exactly be a soothing experience.
It is much easier on your arms to use an electric hand frother than a wire whisk. Simply press the button and relax until you are satisfied with the outcome. The simplest technique to obtain consistent outcomes is in this way. Although you won’t obtain an identical replica of the foam produced by a professional espresso machine, it will be near enough for the great majority of uses. They are also reasonably priced.
A strange yet highly useful item is a French press. The French press’s strainer screen does an excellent job of producing rich foam. The milk should be heated until it is hot but not yet boiling, just like with the previous two procedures.
The plunger should then be moved quickly up and down. It is not necessary to purchase anything further if you already own a French press. The French press and hand frother are both efficient.
As an alternative, you can purchase a combo that will accomplish both tasks simultaneously. Try out the SEVEN&ME milk frother and Moka pot set. Although it is not inexpensive, this appliance accomplishes all you need it to.
How to Regularly Maintain a Moka Pot
Remove the Pot’s Parts and Clean the Grounds
Take apart each part after the pot has cooled enough to handle. Place the grounds in a compost or garbage container. Hours spent letting the grounds remain in the pot will result in additional oil buildup and perhaps mold development.
Rinse Well
Rinse each part under a flow of hot water from the faucet. It is crucial to thoroughly rinse the grounds from the safety valve region as well as the grounds filter basket.
Dry Completely
Before putting the pot back together, completely dry each component with a paper towel or cotton dish towel.
A Moka Pot’s Descale Procedure
Minerals in water alter how it tastes. Unfortunately, these minerals can also accumulate inside a Moka pot, obstructing its function and changing the brew’s taste.
After supper or when the Moka pot won’t be used for several hours is a good time to descale it.
Step 1
Water must fully cover the safety valve and reach the bottom of the filter holder in the lowest chamber of the Moka pot. This will be more water than you typically utilize when making coffee.
Step 2
To the water, add two teaspoons of distilled white vinegar. Apple juice vinegar or filtered lemon juice can substitute for distilled vinegar if you don’t have any on hand.
Step 3
Put the pot together and let it sit for two to three hours (overnight is fine). Without damaging the metal, the mild acid in the lemon juice will gradually dissolve the solid buildup and any fats stuck to the inside of the pot.
Step 4
Pour some of the water out after a while, then put the pot of acidic water through a typical brewing cycle.
Step 5
Empty the vinegar water after the pot is cold enough to handle, then take apart the pot. Wipe with a paper towel after rinsing each part under hot running water.
Conclusion
Although it might not be the best idea to put milk in a Moka pot, it is possible to do this, and has a great result.
For exploring milk and espresso grinds, the Moka pot is one of the few alternatives to using a coffee maker. However, Moka pots lack an integrated wand for foaming milk; you must purchase a frother or use plain milk as a substitute.
A cheap option to make excellent coffee in the convenience of your kitchen is to use a Moka. Only a few simple actions are needed, and the outcomes will be amazing!