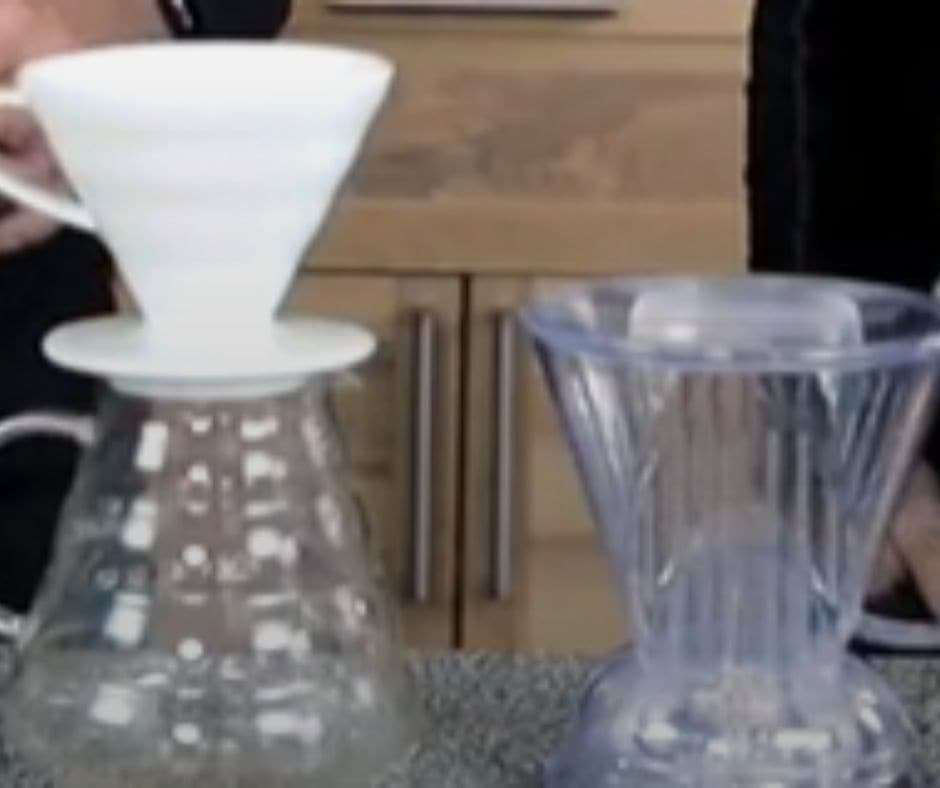
Clever dripper vs v60
Clever dripper vs v60-coffee One of the most popular designs of drip coffee makers is the Clever dripper which is a single-chamber or double-chamber Brewer. You can control the temperature of your cup by adjusting a valve on the side of your brewer to brew with a more controlled temperature and get a more substantial and milder taste.
Buying a coffee maker can be complex and confusing, especially when there are so many different options to choose from. So I’ve put together this handy guide comparing two of the best drip coffee makers on the market: The Clever dripper vs the V60 brewer.
Many of you will be attracted to this post because it’s about coffee machines. I won’t blame you. The Clever dripper has made an impressive impact on the world of coffee thanks to its clever design and economical price tag. This mini espresso machine is perfect for those of us who love their morning brew but don’t have the required space or budget for a full-size machine. And although the V60 model isn’t entirely new by any standards, the price offer (most especially at £200) is one that we couldn’t resist given that there are some great deals around right now too! So let’s examine these two devices and decide which will earn our affection and money.
Clever dripper vs v60
Table of Contents
Similarities
- Conical form
- The coffee grounds in the filter are covered with water.
Differences between V60 and Clever Dripper
- Compared to BPA-free plastic, ceramic is built.
- Continuously add little amounts of water instead of doing so all at once.
- Opening at the bottom as opposed to a bottom-mounted shutoff valve
- Before brewing, it can be utilized on any surface instead of needing a stand, decanter, or cup.
- Requires a goose-neck kettle as opposed to one that isn’t necessary.
Pricing for the Clever Dripper and Hario V60
The Clever Dripper costs $29, slightly more than average compared to other drippers available.
Contrarily, the Hario V60 is reasonably priced, ranging from $8 to $30 in size, with the plastic Size 01 Hario V60 costing only $8, depending on the material.
The Hario can be more expensive for limited editions, like the olive wood model, which costs roughly $45. However, our preferred glass option has a suggested retail price of $28.
Although the Clever Dripper costs more than the Hario V60, there are few or no entrance hurdles, making it accessible to almost everyone.
It is a versatile coffee brewer that provides a full-bodied and reliable cup of coffee since it places less emphasis on technique and precision. The Hario V60 is less expensive, but it takes time and practice to make an excellent cup of coffee.
Even then, there are a lot of irritating adjustments you can make to your pouring technique. Despite this, the Hario can offer a cup with a richer flavor profile because it can highlight flavors that immersion brewing can’t.
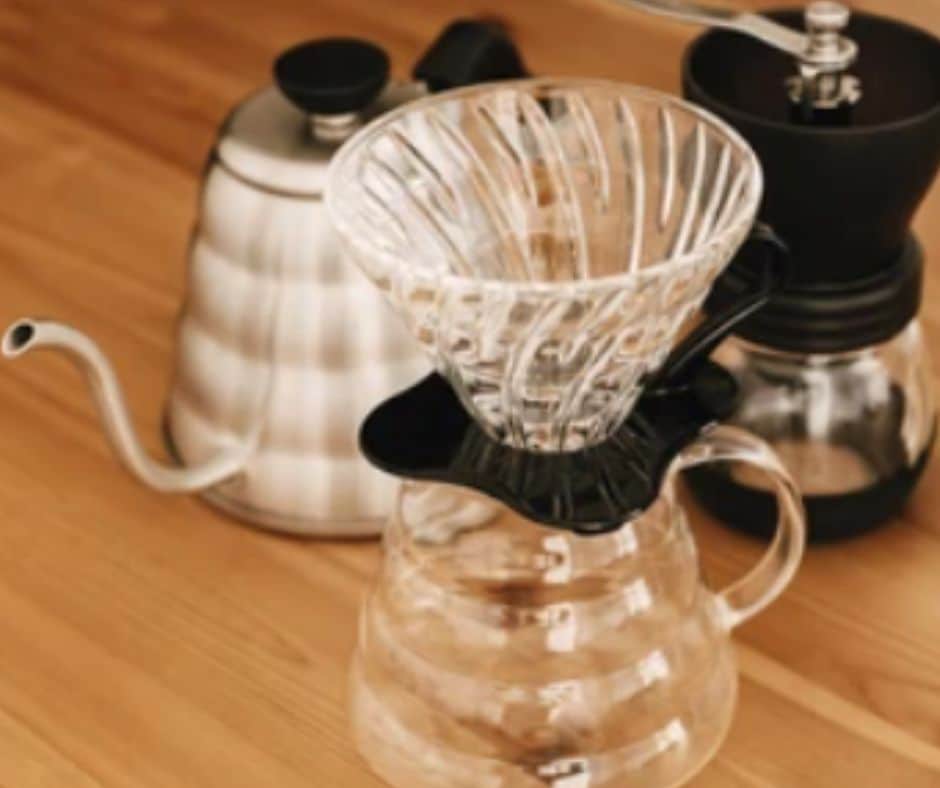
Hario V60 review

Pros:
- Attractive appearance
- Comes in a variety of materials.
- Brewer’s flexibility
Cons:
- Increasing learning curve
- Depending on the version you receive, it could be fragile.
The Hario V60’s versatility in brewing is its most vital feature, not only its attractive design. Metal, plastic, glass, and ceramic are just a few materials that can be used to make the Hario V60 dripper.
It also comes in several sizes, ranging from one cup to three. There are many different ways to enjoy a cup of coffee due to the variety in brewing methods.
Compared to the Clever Dripper, brewing using a Hario V60 requires a little more effort and expertise. However, a Hario V60 may be used to brew in so many different ways.
The fundamentals of using a Hario V60 are the same, though. The bare minimum requirements, like the Clever Dripper, are medium-coarse coffee grounds, boiling water, and coffee filters.
You first add the filter to the brewer before giving it a hot water rinse, just like the Clever Dripper. Add your coffee grinds next, and give them time to bloom. This is where technique starts to shine. Different people use different methods to brew their coffee with water.
For example, there is the Rao spin, which involves spinning the slurry while holding the filter by its sides, and James Hoffman’s superior V60 method.
Nevertheless, each Hario V60 version brews differently because it is available in many other materials. For instance, despite the ceramic’s beauty, its thickness makes it more challenging to preheat and maintain at a constant temperature. Additionally, it is weak and breaks when dropped. Additionally, if you’re new to coffee brewing, it could be more difficult to learn due to the variety of brewing methods and equipment.
Compared to the Clever Dripper, the V60 has a higher learning curve and requires a more significant investment in tools. On the other hand, greater technique flexibility might result in a more customized cup since you can adjust variables like temperature, water pass rate, and saturation, which ultimately influence flavor extraction.
Hario V60 brewing guide
In comparison to the Clever Dripper, brewing using a Hario V60 requires a little more effort and expertise. This is because a Hario V60 may be used to brew in so many different ways. The fundamentals of using a Hario V60 are the same, though.
The bare minimum requirements, like the Clever Dripper, are medium-coarse coffee grounds, boiling water, and coffee filters. You first add the filter to the brewer before giving it a hot water rinse, just like the Clever Dripper.
Add your coffee grinds next, and give them time to bloom. This is where technique really starts to shine. Different people use different methods to brew their coffee with water.
There is the Rao spin, which involves spinning the slurry while holding the filter by its sides, and James Hoffman’s superior V60 method.
Clever Dripper review
The name certainly earns the adjective “clever.” It has an “awesome” shutoff mechanism that only releases coffee when placed on top of a cup. As soon as the cup is removed, it stops. The silicone portion of this unique release ring is secured to the dripper’s base.
The Dripper cannot be placed on any other non-cup surfaces because of the protruding legs on the bottom. Therefore, the Clever Dripper is essentially a full-immersion brewer with pour-over filtration.
Pros:
- Versatile and lightweight
- Very user-friendly
Cons:
- Does not endure forever.
- Comes in only one size.
- Not the most beautiful thing.
The features that make the dripper “poor” might not necessarily be drawbacks but matters of taste. The Clever Dripper’s simplicity of use is its best feature. Compared to a pour-over, it is perhaps the most miniature complicated coffee maker to use and doesn’t call for any elaborate methods.
Because you can set it and (kind of) forget about it, it is doable for both novice coffee fans and individuals who are inexperienced with coffee.
It is composed of BPA-free plastic, incredibly light, and comfortable to grasp. Additionally, it has a flexible brew—you can use only one tool to do a pour-over or immersion-style brew!
The Clever Dripper creates a fuller-bodied coffee that would be better suited for medium to dark roasts because it doesn’t absorb coffee oils, as well as drip coffee. This implies that light roast coffees’ fruity and floral undertones won’t be as noticeable.
Clever Dripper Brewing Guide
The bare necessities for a Clever Dripper are medium-coarse coffee grounds, hot water, and coffee filters. More experienced or professional brewers will use a scale, a timer, and particular coffee-to-water ratios.
The filter is first placed in the brewer, rinsed with hot water, and then the water is discarded. After that, add your premeasured coffee grinds and bloom them in hot water for around 30 seconds.
After the grounds have blossomed, add the remaining water, saturate them, and let them sit for about two minutes. After that, set a decanter or carafe on top of the brewer and let the coffee drain.
Clever Dripper Brewing Process
1. Activate the Clever Dripper and place it where you choose.
2. In the Clever Dripper, put any size four filter with a flat bottom.
3. Add hot (91-96 degrees Celsius) water (195-204 degrees Fahrenheit). This will reheat the cup, wet the filter, and eliminate any papery flavor.
4.300 milligrams of water should be added after 20 grams of coarse or medium-ground coffee.
5. To remove any grains from the Dripper’s side, gently stir the liquid.
6. Wait until the suggested 4-minute brewing time while securing the cover. (Beware: the four minutes will drag on a lot!)
7. Watch the liquid trickle by placing the Clever Dripper on a cup or glass that fits the bracket.
Conclusion
There is no better product than the Clever Dripper or the Hario V60. Every brewing method has advantages and disadvantages, emphasizes various coffee flavors, and yields multiple kinds of coffee.
Your choices will determine which is better, but they are both fantastic at producing some sort of coffee. With medium- to dark-roasted coffee, like our Downtown Blend from 12 years ago, the Clever Dripper makes a full-bodied cup perfect for New Yorkers!
We suggest our unique pour-over Honey Processed Purple Gesha coffee because it makes a clean, vibrant cup of coffee that works better with light to medium-roasted coffee and the Hario V60.
Both brewing systems may be used with any roast, but each has a unique way of bringing out the nuances of the coffee.