How to use a Keurig [The Best you can Hear]
Utilizing a solitary mug espresso creator is normally as basic as flying in an espresso unit and choosing your ideal cup size. You likewise need to realize how to fill the unit’s water supply so espresso blending is conceivable.
Single-mug espresso producers have picked up prominence among property holders just as work environments and organizations, so it’s acceptable to comprehend their utilization regardless of whether you don’t claim one yourself. No one can tell when you may experience one out of a sitting area or break region.
You can scarcely discover a family that doesn’t have a Keurig machine in the kitchen. What’s more, there are numerous purposes to that. However, everything boils down to one: they make an incredible espresso.
Thus, on the off chance that you are another glad client, it is the ideal opportunity for you to figure out how to utilize a Keurig espresso machine so you could begin making the most of your new, delightful drinks and the advantages they offer. We should take a plunge!
A Step-by-Step Guide to Using Keurig Coffee Maker
Stage 1: Set It Up
Regardless of whether you don’t have a clue yet how to utilize Keurig, you most likely comprehend that some earlier setup is required. This is what you ought to do:
Remove the machine from the case and eliminate the sticky tape from the pieces of your Keurig.
Spot your machine close to the electrical plug. Remember that you are probably going to utilize it regularly, so it’s smarter to locate a decent spot for your espresso creator. It should be anything but difficult to get to and extensive enough to oblige the machine.
Attachment the rope into the electrical plug. Presto, you would now be able to utilize your Keurig espresso producer!
Stage 2: Do a Cleansing Brew
Consider this stage a trial that will assist you with setting up the machine for use and cleaning it within for your first mug of espresso. To do a purifying blend before you utilize your Keurig, follow these means:
- Fill the water supply.
- Spot a mug or a holder under the gadget to get the heated water.
- Press the force button.
- Hang tight for a few minutes for the machine to warm the water up.
- When the blend size closes light up, pick the biggest size and press the relating button.
- Trust that the machine will quit administering heated water. Dump the water into the sink. You are presently prepared to mix your first mug of espresso!
You need to recall to clean your Keurig machine consistently. A wide range of stuff can develop in and on it, including espresso buildup, oils, tea residue, and even scale stores from water.
Stage 3: Choose Your Coffee
Probably the coolest thing about Keurig machines is that they blend innumerable sorts of drinks, including distinctive espresso sorts, tea, cocoa, hot cocoa, etc. You can even discover decaf espresso cases for those occasions when you need to diminish your caffeine utilization.
Presently, those plastic units contain both ground espresso and a channel. A few models likewise execute work in water channels for the most perfect kind of your drinks. Pick the flavor you need to attempt first however don’t eliminate the foil top.
Stage 4: Place the K-Cup into the Machine
To do that, you need to lift the handle. It will uncover a unit space that holds the cases. It would appear that a round chamber. Supplement your preferred espresso unit in there and push the cover down.
It’s ideal to utilize your Keurig espresso machine with sifted or filtered water, as faucet water will, in general, be very hard and may leave mineral and synthetic development within your espresso creator.
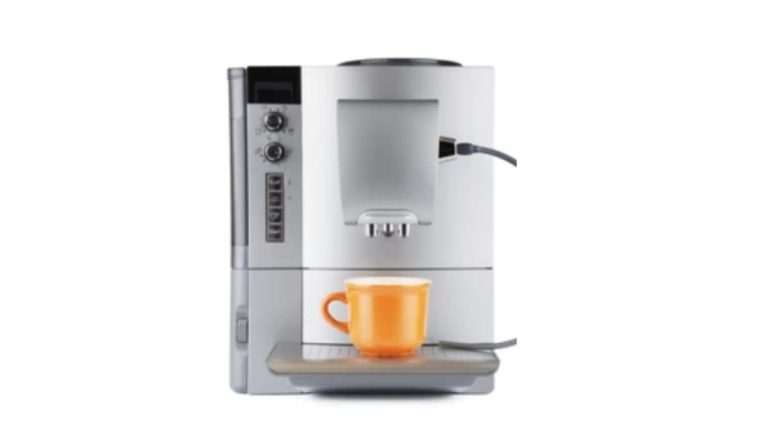
Stage 5: Place Your Mug Under the Dispenser
Your Keurig machine has a dribble plate, which is put directly under the espresso distributor and fills in as both a plate for your cup and a compartment that gets all the espresso drops. Spot your mug on top of it. On the off chance that your mug is excessively tall and doesn’t fit, you can either utilize an alternate one or attempt to eliminate the trickle plate (some Keurig models take into consideration that).
Stage 6: Select the Brew Size
Ordinarily, you have three alternatives – 6, 8, and 10 oz – however a few models blend 12 oz or even a full carafe. Regardless of the number of choices you have, picking one would not be an issue. You simply need to press the comparing button. A speedy tip: Because this is your first time with Keurig, pick the littlest size first. Thus, you will understand what cups to use later on. That is to say, you would prefer not to pick your #1 cup and afterward watch it flood with espresso since you’ve picked the biggest blend size (and your cup ended up being excessively little for it).
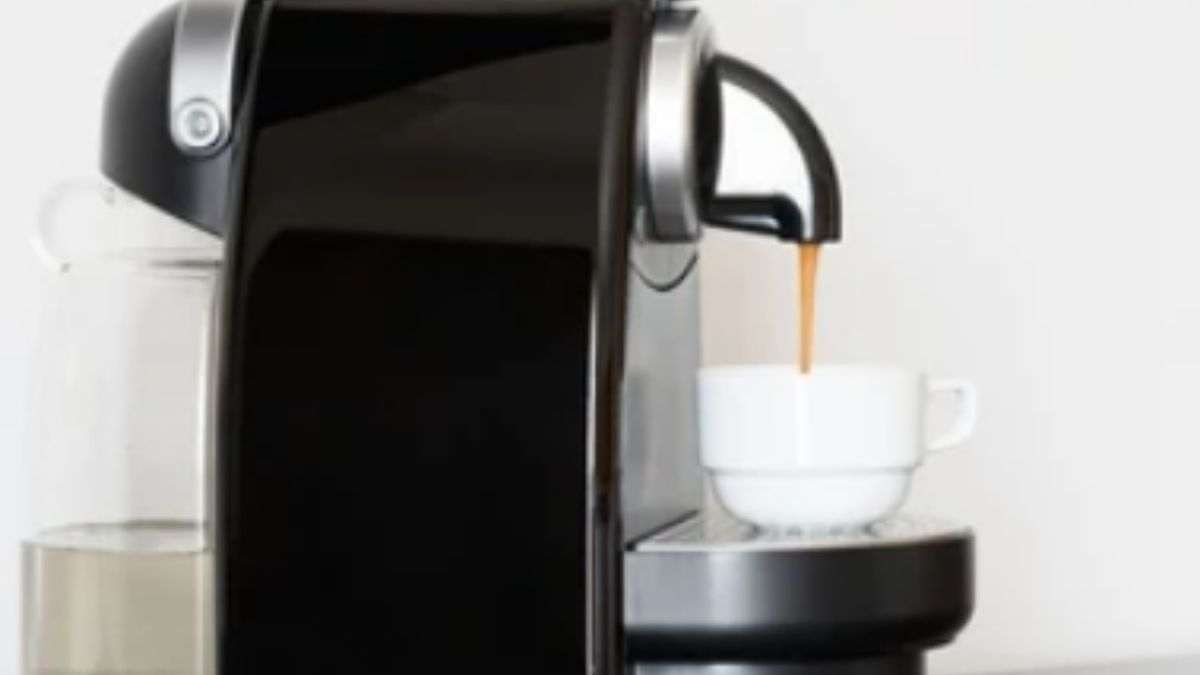
Stage 7: Brew Your Beverage
When you press the mix size button, your machine will set aside some effort to siphon the water. This typically takes a couple of moments. At that point, it will begin apportioning hot, new espresso into your cup. When you have your refreshment, lift the machine’s cover, take the pre-owned espresso case out, and discard it. You can keep the unit compartment open for quite a while to allow it to dry. Or then again embed the following espresso case and appreciate another drink!
What’s incredible about Keurig espresso machines is adaptability. There is a wide range of models reasonable for practically any client. There are even Keurigs that make little coffee-like shots or highlight worked-in milk frothers for cappuccinos and lattes.
Do Keurig Coffee Maker Instructions Differ by Model?
All things considered, while working in basically a similar way, extraordinary Keurig models have their characteristics. For example, the 1.0 arrangement machines mix just the K-cup cases, while the 2.0 arrangement works with K-cup, K-mug, K-worth, and K-carafe containers.
I know some of you think that it’s exhausting, yet perusing the manual to your specific model is a smart thought. One of the fundamental purposes behind that is similarity issues. The 1.0 arrangement upholds all units accessible. Simultaneously, the 2.0 Keurig models (like this K575 machine, for instance) can blend just the Keurig-authorized ones, which implies you are fairly restricted in what you can decide to drink.
Which Keurig model do you have? Do you think that it’s simple to blend your espresso with it, or would you say you are having any issues? Tell us in the remarks!
How to Choose a Keurig That Would Work for You
Nowadays, there are innumerable Keurig models accessible. We are fortunate to have such an assortment to pick from, yet customers regularly become overpowered and don’t have the foggiest idea of what to pick.
The best technique is to limit your choices down. Answer a couple of inquiries:
- What amount am I ready to spend on my new Keurig?
- What amount of kitchen space do I have for it?
- Do I need it to accompany extravagant accessories and additional highlights?
- Do I need an enormous water store for all the more only from time to time tops off?
- Will a less difficult model work for me?
By asking yourself these inquiries, you will handily check undesirable models off the rundown.
Auto-On and Auto-Brew Modes
I needed to single out Keurig’s Auto-On and Auto-Brew modes, similar to somewhat not the same as the on-request fermenting measure definite above.
Auto-On is a typical element on numerous Keurig models that allows you to set the brewer to consequently turn on. Be that as it may, it won’t naturally blend some espresso. All it will do is pre-heat the brewer so you can awaken, stroll over, fly in a unit and blend immediately.
Auto-Brew goes ahead with numerous Keurig carafe models, for example, the K200 and up. This mode permits you to prepare the brewer with water and an espresso case for fermenting sometime in the future. In contrast to Auto-On, the brewer will really mix a carafe of espresso at the predefined time.
The bit by bit measure underneath is for the Keurig Auto-Brew mode with carafe-sized drinks. The cycle underneath differs from model to demonstrate, so look at my Complete Guide to Keurig Coffee Maker Reviews for the particular client manuals of each model.
1. Pick your K-carafe unit and addition your carafe
Pick a K-carafe unit, snatch your carafe and continue to stage 2.
2. Pick the mix size and select the AUTO BREW setting
This specific setting could shift contingent upon the model you have. The picture above shows a typical screen, this one explicitly from the Keurig K575.
Pick your mix size
Press AUTO BREW
3. Select the blend time you need
When you press AUTO Brew above, you’ll be taken to a screen with an advanced clock and a few bolts, as the picture appeared previously.
Select the ideal mix time
Press the catch in the base right corner to save the time
4. Pause
At the point when the planned blend time shows up, the espresso creator will mix the espresso with the settings you picked.
You can’t utilize the espresso creator until the ideal time except if you drop the Auto-Brew.
5. Discretionary: To alter or drop the mix
You may choose you at this point and don’t have any desire to blend a carafe of espresso at 6:00 am. Whatever will you do?!
To Edit: Press the catch on the control board that says TOUCH HERE TO EDIT
To Cancel: Lift the handle
Keurig Regular Maintenance
Keurig espresso creators are finicky machines. Numerous clients gripe their brewer neglected to last over a year or two, yet for the most part, this is because of helpless standard support — you gotta clean these things.
To keep your brewer murmuring along for quite a long time, ensure you play out the accompanying upkeep schedule.
1. Clean the outside, trickle plate, water store, unit gathering, passage needle, leave needle and carafe
Recurrence: Every 1 fourteen days
Each Keurig client manual has directions itemizing the most ideal approach to clean the segments of that specific model. That is the primary spot you should go while exploring customary upkeep.
Be that as it may, the accompanying principles by and large apply:
- Outside: wipe down with a non-grating material or wipe
- Trickle plate: flush in the sink; not dishwasher safe
- Case get together: flush in the sink; not dishwasher safe
- Water supply and cover: flush in the sink and wash with cleanser and a non-grating fabric or wipe
- Section and leave needle: wash and wipe down with non-rough material or wipe; should they stop up, utilize a paperclip to unclog (see picture above)
Carafes: wipe down with a non-rough material or wipe; for the warm carafe, never lower it completely submerged.
Some Keurig manuals state the unit gets together and different segments are dishwasher safe, however, I believe it’s ideal to hand wash everything at any rate.
For anything that interacts with espresso, for example, the unit gets together, it’s ideal to wipe down at times with a combination of equivalent amounts of water and white vinegar. The vinegar cleans away any of the malodorous oils coming about because of its introduction to oxygen and water and guarantees the most ideal tasting mug of espresso.
2. Change the charcoal water channel
Recurrence: Every 2 months or 1,000 oz, whichever starts things out
For setting, 1,000 oz is 125-8 oz servings or one cup for each day for a very long time
To change the charcoal channel you’ll have to follow the means portrayed in sync 4 of the Initial Setup and Cleansing Brew directions above.
3. Descale your machine
Recurrence: Every 3-6 months or all the more regularly on the off chance that you have hard water
After some time your espresso creator will encounter calcium develop from your water. Utilizing separated or spring water, or a viable charcoal water channel, will slow this development, however, it will, in any case, happen regardless.
Practically all Keurig models have some sort of descaling warning or marker light to tell you when it’s an ideal opportunity to play out the descaling measure underneath.
Truly, I’d de-scale more much of the time than is recommended — something like each 2-3 months. It doesn’t require some investment at all and it’ll keep everything working for more.
These are the means:
- Fill the water store to the MAX FILL line with a descaling arrangement or a combination of half water, half vinegar
- Run the blend cycle one time
- Allow the brewer to sit for at any rate 30 minutes, permitting the inside parts to be cleaned
- Run the blend cycle on numerous occasions until the water repository is unfilled
- Fill the water store with water
- Run the blend cycle on numerous occasions until the water repository is unfilled.