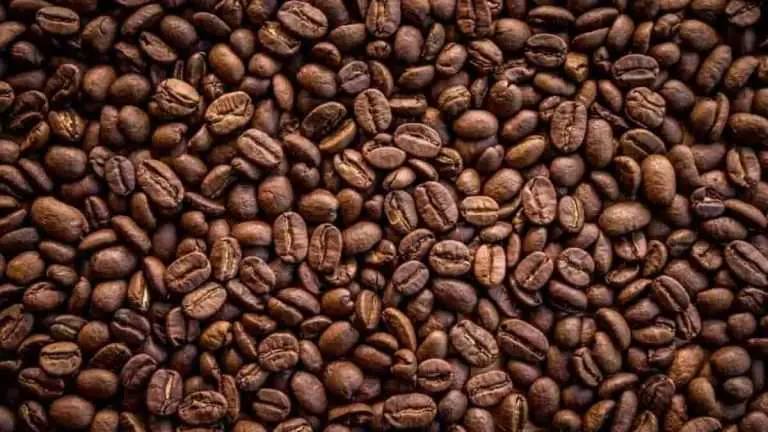
How To Make Instant Coffee From Ground Coffee
Every cup of coffee should be perfectly fresh-brewed for dedicated coffee drinkers, but this isn’t always achievable. In fact, it’s a terrible irony that some mornings you may require a cup of coffee before attempting to prepare a pot. Single-cup brewers alleviate this issue, albeit at a significant per-cup expense. Although instant coffee is a low-cost choice, its flavor is sometimes underwhelming. If you want the flavor of fresh coffee with the comfort of instant coffee, one option is to make homemade instant coffee.
Step 1
Fill the grinder with a scoop or two of your favorite ground coffee.
Step 2
Grind the coffee in the grinder, alternating between pulsing and constant whizzing, till it begins to clump in the bottom corners.
Step 3
Shake the powdered coffee through a fine-mesh strainer or sifter to remove any excess. Sift the best part of the coffee into an airtight container.
Step 4
Return the remaining to the grinder and restart, or simply reintroduce it into your can of coffee.
If you don’t have a blade-type coffee grinder, you may get an identical outcome with a blender or even a mortar and pestle. Keep in mind that the longer you grind the coffee, the more heat you’ll produce through friction. Heat damages coffee taste, so keep it brief. It is preferable to work in multiple little, rapid batches rather than one huge, slow one.
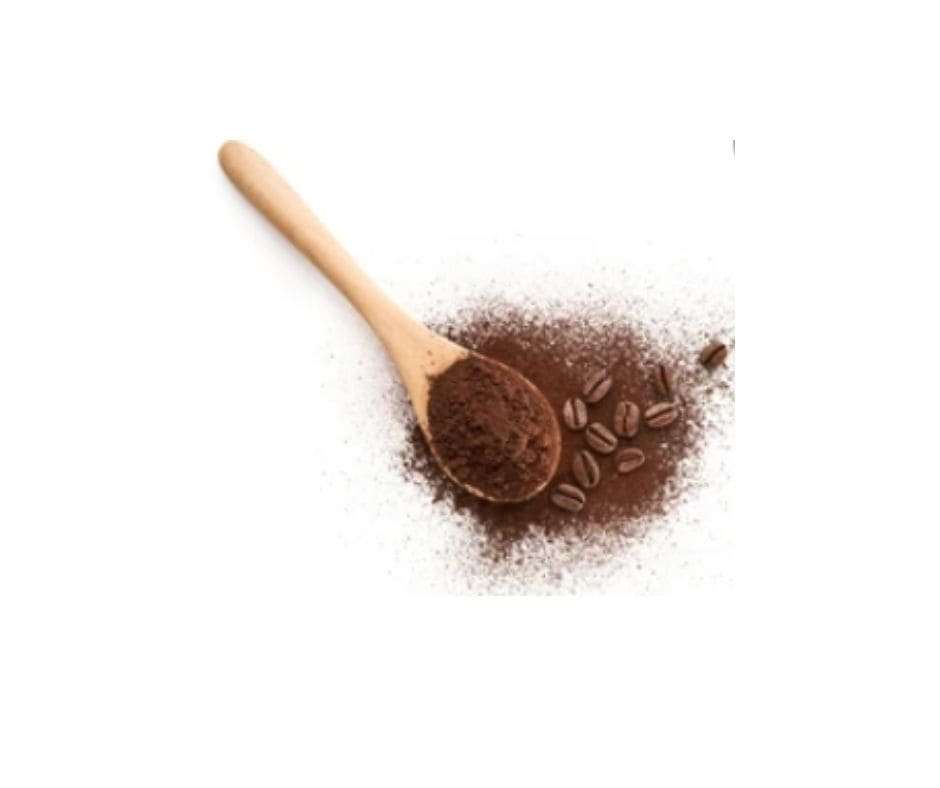
Whole coffee beans have the longest storage period, but fine grinds oxidize and lose taste the fastest due to their high surface area %. For the greatest flavor, don’t grind more than you’ll use in a day or two, and store the powdered coffee in an airtight bag or container.
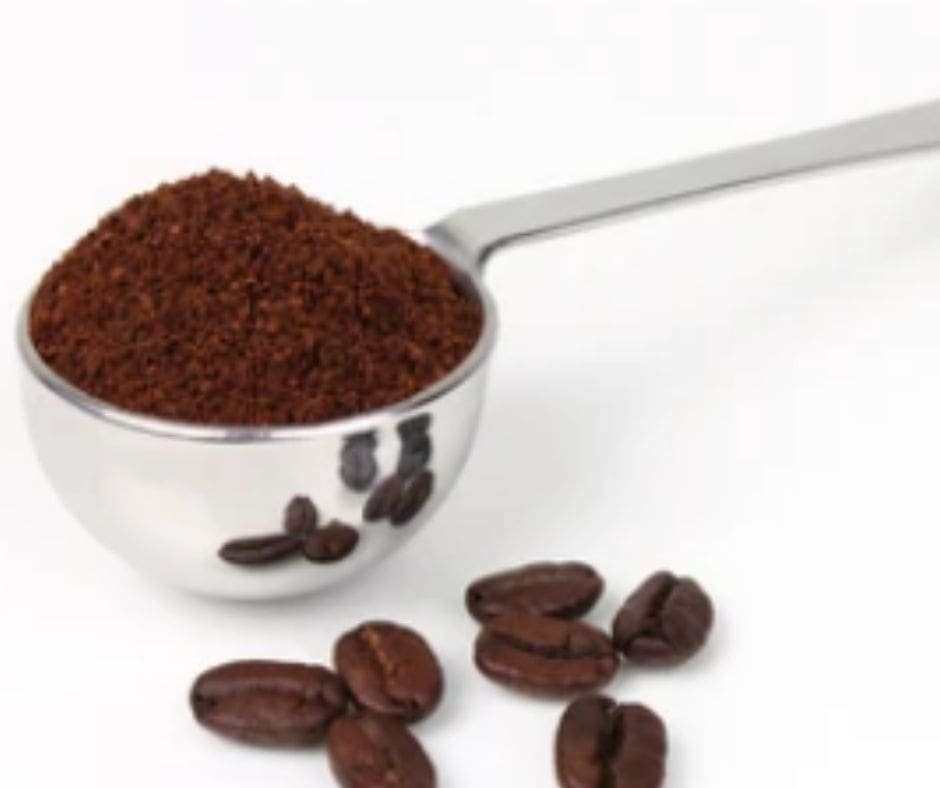
If you’re using a restaurant-sized cup — approximately 6 ounces — you’ll need around 1 1/2 teaspoons of the extra-fine coffee. 2 tablespoons will fill an 8- to 10-ounce cup. If you prefer your coffee strong, go ahead and use a little extra. If it’s too strong, you can easily dilute it with more water.
The Method:
• Pour the coffee into your cup.
• In your kettle or microwave oven, bring new, clean water to a boil.
• Allow it to cool for 20 to 30 seconds, until it has dropped below the boiling point, before pouring it over the powdered coffee grounds.
• Carefully stir the coffee, then wait 10 to 15 seconds before adding cream and sugar, if needed.
The grounds will gradually sink to the bottom of your cup as you sip. This implies that you won’t want to gulp that final sip of coffee since it will be chewy. It will also be powerful and perhaps bitter since less desirable tastes emerge as the grinds stay longer time in contact with the water.
How to turn ground coffee into instant coffee without grinder
So you’re at home, you’ve purchased a bag of coffee, and you can’t wait to smell the wonderful, crisp scent wafting through your house as the coffee is brewing. You open your coffee bag, glance down….and fear. You purchased coffee beans rather than coffee grounds! Oh my goodness!
You need a cup of coffee (or two) in the morning, and you need it immediately, but this is the only coffee you have! We won’t be able to create ground coffee because you don’t have a grinder. Fortunately, we’ve created a comprehensive guideline on how to ground coffee beans without a grinder. We’ll also go through the various sorts of coffee grinds and what they’re most typically used for. Keep in mind that different procedures will generate varied outcomes; some will offer finer coffee grounds, while others will yield coarser grounds.
However, if you have a coffee grinder, you should just use it. But for the rest of us, keep reading down through! Bring some elbow grease, grit, and patience — some of these processes are time-consuming!
The great majority of us have blenders or food processors in our kitchens. Grinding coffee beans is an easy process if you have one of these.
But you can’t just throw the beans in and mix it like a smoothie; instead, follow our technique below.
- Use a Blender
Using a blender to ground your beans to a fine consistency is a quick and easy method. But keep in mind that there is no way to make all of the grounds the same size. You will, however, acquire an acceptable consistency. Some blenders may feature a “grind” option, but don’t panic if yours doesn’t! You’ll want to use a “pulse” setting or hand combine the beans.
Blending generates heat and frequently “cooks” the beans while blending, which you do not want! Because the beans may burn, it’s critical that the entire grinding process takes around 20 seconds, possibly 30 seconds if you absolutely need it!
After you’ve finished grinding the beans, brew coffee in your own portable coffee maker. These are extremely useful when you’re on the run!
How To Do It:
• If your blender has a “grinder” setting, turn it on. If not, go with a medium-high setting.
- Pour a tiny quantity of coffee into the grinder and screw the cover on tightly.
• Grind your beans to the consistency you desire, using a “pulse” technique, grinding in short, fast bursts.
• For optimal results, tilt the blender from side to side while grinding; this encourages greater sections of the beans to migrate into the blade path, resulting in a more equal grind.
• Empty the blender, add new beans, and repeat until the appropriate amount of ground coffee is reached.
- Food Processor
This, like the blender, is one of your better alternatives. Of course, this will not be as good as a proper coffee grinder, but it will suffice in a hurry! You’ll obtain comparable results to a blender, but you’ll need more beans because the food processor’s diameter is generally broader than that of a blender.
Increasing the amount of coffee should be enough – and if you’re only two people, you’ll have enough grounds for tomorrow! Just keep the remaining grinds in an airtight plastic bag.
How To Grind Coffee With A Processor
• Pour a few scoops of coffee into the processing bowl and secure the lid tightly on top.
•Using your processor’s “pulse” function, grind in short bursts. Tilt the processor gently from side to side when grinding for the best results; this encourages the bigger pieces of the beans to migrate into the blades.
• Empty the processor, add new beans, and repeat until the appropriate amount of ground coffee is reached.
The pulse technique is essential for brewing a good cup of coffee (if not a great cup of coffee). Grind in short, repeated increments, shaking the blender in between. Short, fast bursts of power on your machine will coarsely grind up the beans closest to the blades, and shaking will enable the bigger bits to fall closer to the bottom blade. Again, this isn’t perfect, but we’re dealing with life and death here, aren’t we?
- Rolling Pin
You may also use a rolling pin to grind your coffee. This approach works best for French press coffee since the grounds should be coarser than those used for drip coffee. It’s also time-consuming, but it’ll deliver you the results you need in a rush. Putting your coffee beans in a plastic bag is the simplest method to grind them with a rolling pin. You won’t have stray beans flying around your kitchen while you grind them down this manner.
- Mortar and Pestle
Mortar and pestle grinding will be laborious and time-consuming. You’ll want to utilize only 14 to 13% of the capacity of your mortar to prevent overflow and the beans from leaping out.
This method also produces fewer grounds than the rolling pin method, so make extra if necessary!
Finer grounds for drip coffee or Chemex coffee, as well as coarser grounds for French press coffee, may be made with a mortar and pestle. It all comes down to how long and how hard you crush your beans. To obtain a more uniform mix, grind your beans in little quantities.
How To Do It
- Scoop a couple tiny scoops of coffee into your mortar. Fill it no more than 14 full for the optimum control. You can always make another batch.
- Use your dominant hand to hold the pestle, and your other hand to hold the mortar in place.
- Using the pestle, forcefully push down and twist the coffee beans to smash them.
- Once crushed, roll the coffee around the bowl with the pestle until it reaches the desired consistency and texture.
- If you need to grind additional coffee, dump the previously ground coffee into a bowl (or your coffee maker) and continue the procedure until you have enough coffee.
- Use a Hammer
Using a hammer ensures that the beans are thoroughly smashed. It’s also not too time intensive. The grounds will grow finer and finer as you tear them down.
Place the beans in a bag and crush them, like you would with a rolling pin. Use low to medium pressure to reduce the likelihood of the bag popping when grinding the beans. You should not strike the bag as if it were a nail.
- Hand Mincer or Garlic Press
This process is not the same as grinding beans in a coffee grinder, but it is quite easy. The beans are forcibly pressed out of the region where the garlic, meat, or other meal is stored.
One of the most noticeable drawbacks is that the holes are generally rather large, resulting in a larger, coarser ground. This step may need to be repeated or combined with the rolling pin or hammer approach.
You can only grind a little number of beans at a time using the hand mincer. Put many whole coffee beans through the mincer or press, then gather the grounds and put them through the mincer or press again, or as many times as necessary to get the desired kind of grinds.
- A Knife
When grinding beans with a knife, use the flat of the blade rather than the edge. The shape of a butcher knife or chef’s knife, with its somewhat larger and stiffer blade, aids in the process of crushing and cracking the beans.
Crushing beans using the flat of the blade provides good control and results in a medium to medium-fine grind. The longer you’ve been in culinary school, the easier this will be. So, if you’re anything like us and aren’t a cook, try a different way!
You Will Need:
• A large butcher’s or chef’s knife
• A large cutting board (to help catch runaway beans)
How To Go About It
• Arrange your beans on a chopping board.
• Lay your knife flat on top of the beans, making sure the sharp edge is on the board.
Tips: To avoid flyaway coffee grounds, place a kitchen towel (or paper towels) over the knife.
• Lay your flat hand on top of the blade and firmly press down to shatter the beans. Don’t be tempted to smash the blade as if you were crushing garlic: the beans will bounce and fly away, resulting in not only extra cleanup but also the possibility of losing part of them.
• Once the beans are broken, continue pressing down on the blade while bringing the blade slightly toward you to fine-tune the grind.
Undoubtedly, these methods have assisted you in learning how to ground coffee beans without a grinder. As you can see, grinding coffee beans without a grinder is time-consuming. However, whether you possess a grinder or not, we want you to be able to enjoy a cup of coffee.
Grind consistency and uniformity, according to Scott Rao, one of the coffee industry’s most powerful voices, are vital to making the greatest cup of coffee. A constant grind not only ensures that the desired characteristics of your coffee are extracted equally, but it also ensures that each cup you brew is as excellent as the last. An irregular grind tends to over-extract certain grounds while under-extracting others, leaving the coffee with a “chalky” flavor.
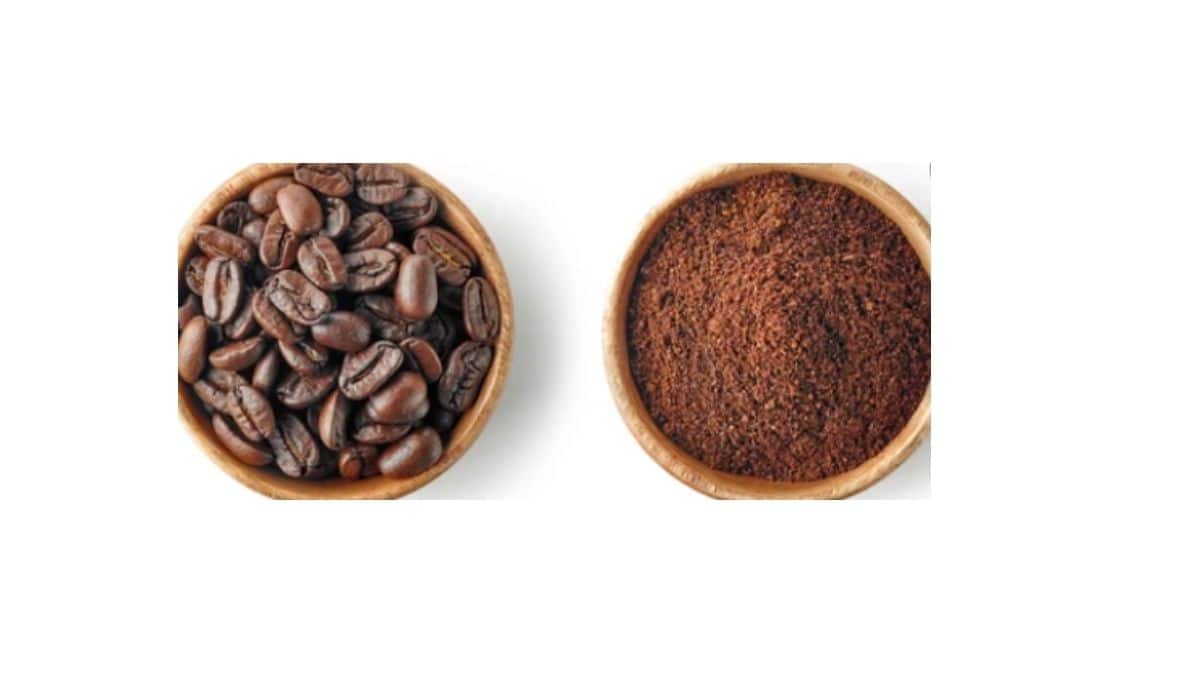
Instant Coffee vs Ground Coffee: Is There a Difference?
Depending on where you live, you may have never considered this question. Regular coffee is the most popular brew in the United States, but instant coffee reigns supreme in Eastern Europe, the United Kingdom, and portions of Asia.
The name is the key to the distinction here. Regular ground coffee is just roasted beans ground in a coffee grinder. Instant coffee is a pre-brewed coffee that is soluble in water. Instant coffee was created to give a “quick” alternative to the traditional coffee brewing method.
There are two steps to making a brew from ground coffee. First and foremost, get the coffee out of the beans and into your cup (you do this in several different ways). Typically, this entails adding hot water and either steeping, percolating, or applying pressure. In the case of cold brew, there is no heat involved, but the extraction period is prolonged.
Instant coffee, on the other hand, requires only the addition of water and no extraction time. This is due to the fact that it has already been through the brewing process at the facility. Unlike powdered coffee, instant coffee granules dissolve entirely when water is introduced, leaving no waste product behind.
In terms of flavor, there is no comparison between instant coffee and brewed coffee — normal coffee is definitely superior. Some individuals might even classify them as distinct beverages. One of the reasons instant coffee tastes awful is that it is frequently brewed using Robusta beans. A significant quantity of caffeine is lost during the manufacturing process, and the naturally greater caffeine level of Robusta coffee helps to compensate. Unfortunately, this is to the disadvantage of the flavor.
Meanwhile, in recent years, there has been a push to improve the flavor and quality of instant coffee, with gourmet, organic, and fair-trade choices.
Concerning when to utilize any of the two, we believe that you should always drink regular ground coffee. But if you’re going camping or touring, nothing beats the ease of freeze-dried stuff. Not to add that it will not go bad.
Aside from your everyday brew, instant coffee shines while you’re cooking. Because it’s soluble, you can give a quick coffee flavor boost to smoothies, cakes, or marinades without adding more liquid as brewed coffee would.
If you’re searching for an excellent cup of coffee, we always recommend ground coffee. However, if you choose an instant, you’ll need to pick wisely (and maybe spend a bit extra) to obtain something worth getting up for.